

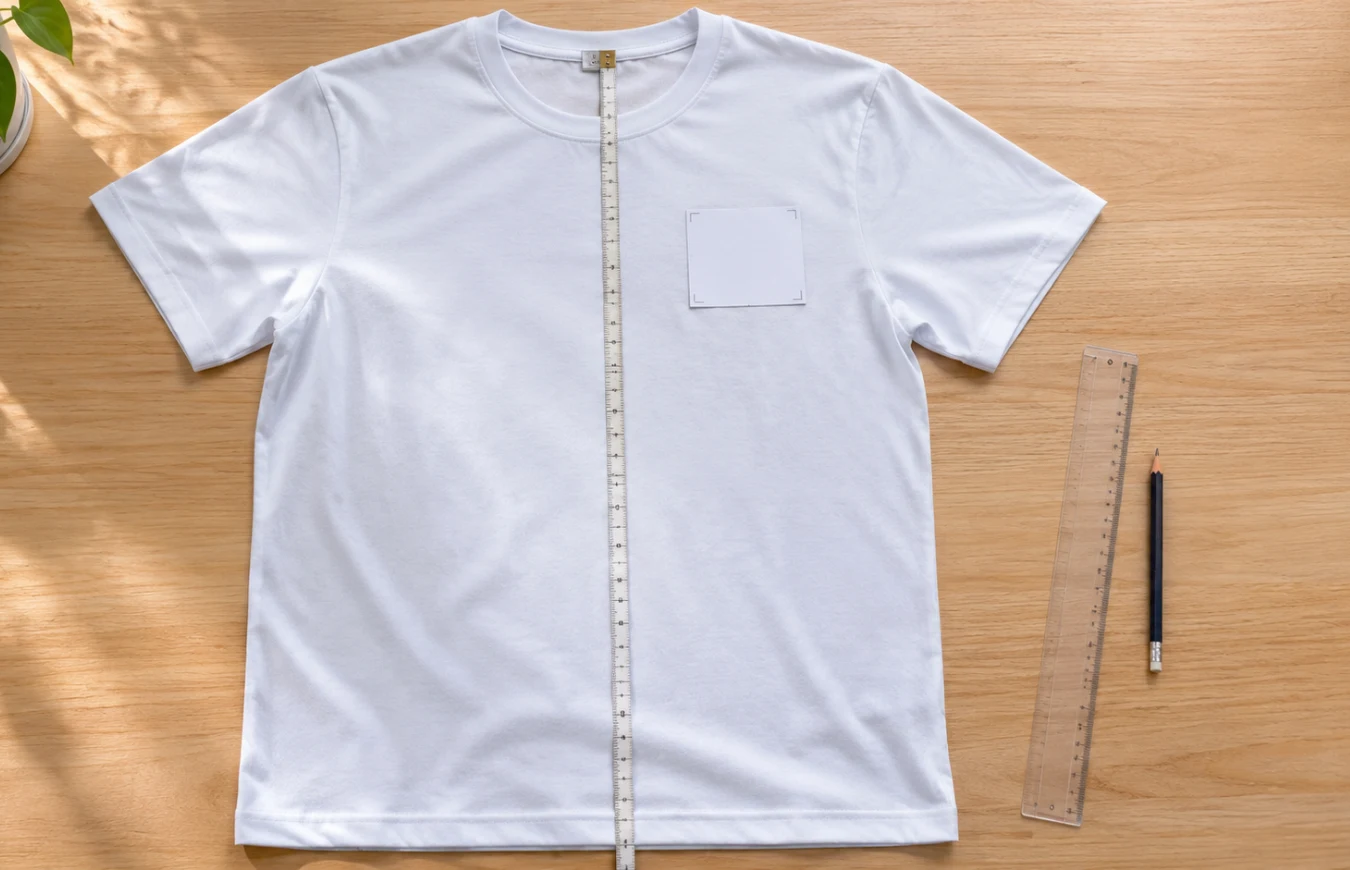
Most placement mistakes on a custom tee come down to a few centimetres, not the artwork. A logo set 2 cm too low looks like it slipped, and a front graphic that runs too wide can drift into the armhole curve. This guide to t-shirt print placement covers print size only: how wide and tall a design should be in each area, and where its top edge belongs.
Table of Contents:
Print Size Chart Basics for Adult Tees
Every number here describes the printed area, not the shirt. Measure down from the collar seam at the back of the neck and across from the centre line that splits the shirt in half. Consistent t-shirt print placement depends on that habit more than on any single figure.
The ranges below are common working figures, not fixed rules. Limits shift with the printer, the printing method and the fabric, so confirm them with the print team. T-Shirt Nation, a custom printing shop in Jumeirah Village Circle, Dubai, lets customers add a design to the front, back or sides of a product.
| Print Area | Adult Width | Adult Height | Kids Width |
|---|---|---|---|
| Left chest | 8 to 10 cm | 8 to 10 cm | 6 to 8 cm |
| Full front | 25 to 30 cm | up to 35 cm | 18 to 24 cm |
| Full back | 28 to 35 cm | up to 40 cm | 20 to 28 cm |
| Sleeve | 7 to 10 cm | 7 to 10 cm | 5 to 7 cm |
| Nape | 5 to 10 cm | 2.5 to 5 cm | 4 to 7 cm |
Left Chest Logo Size and Position
‘Left chest’ means the wearer’s left, which is on your right as you face the shirt. A typical logo runs 8 to 10 cm wide. Go taller, and it starts to read as a patch instead of a mark.
The top edge usually sits 8 to 10 cm below the collar seam, with the print centred roughly 9 to 10 cm from the centre line. Push it toward the armpit and it creeps under the arm whenever the wearer reaches up. Type below about 5 mm tends to lose clarity at this scale, so vinyl, which the shop lists for bold logos and names, suits clean shapes best.
Full Front and Back Print Dimensions
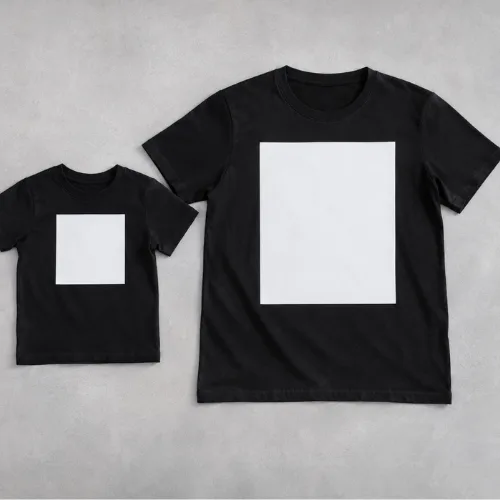
An adult full front design commonly runs 25 to 30 cm wide and up to about 35 cm tall, starting 7 to 8 cm below the collar seam. Past 30 cm there is little fabric margin left, and the artwork can bend into the armhole curve when worn.
Backs give more room. A full back graphic usually spans 28 to 35 cm across. An upper back line, such as a team name, starts 5 to 8 cm below the collar seam and often measures 25 to 30 cm wide by 5 to 10 cm tall.
Direct to film printing, listed by the shop for durable prints on various fabrics, copes with large multi-colour artwork.
Sleeve and Nape Prints on Small Areas
Sleeve prints are compact by nature. Aim for 7 to 10 cm wide, centred on the sleeve and set 5 to 8 cm from the hem, clear of the seam. A long line of text wraps around the curve and warps.
Nape prints sit on the back just under the neck seam, about 2.5 cm below it and centred. Keep them off the neck edge, because that fabric stretches every time the shirt goes over the head.
Adult vs Kids Print Proportions
A child’s print is not a shrunken adult print. A child’s torso is shorter and narrower, so a 28 cm adult front graphic can reach the waistband or the underarms on a youth tee. Scale the artwork to the chest width first, then check the height. For toddlers and infants, go smaller again and keep graphics off the neck area.
Comfort matters more here than on adult wear. Large solid ink areas, hard edges at the neckline and prints that cross seams can feel stiff or scratchy on young skin.
The UAE regulates textile products, children’s wear included, under Cabinet Resolution No. 54 of 2019, available on the UAE Legislation portal. Ask your supplier which rules apply to the exact garment. For a child with sensitive skin, a paediatrician or dermatologist can advise on fabrics and washing.
Where T-Shirt Print Placement Goes Wrong
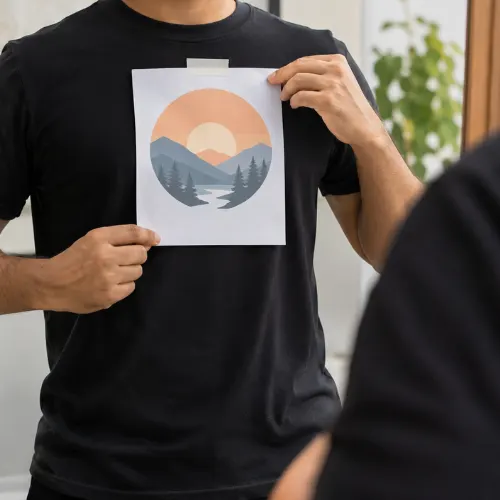
Three slips show up again and again. Artwork gets centred on the whole garment, when the chest sits higher than the middle of the shirt. A design gets sized from a screen mockup, where scale feels very different from a worn shirt. And a print crosses a seam, a hem or the neck ribbing. A cheap check helps. Print the design on paper at real size, tape it to a shirt and look in a mirror.
Final Thoughts
Good placement comes from a measured print area and a little restraint. Which area is your design going on first, and have you held a paper version against a real shirt yet?
FAQ
Most adult left chest logos land between 8 and 10 cm wide. Any bigger, and it stops looking like a mark and starts looking like a patch. For kids, drop it to about 6 to 8 cm so it doesn’t crowd the shoulder.
Around 7 to 8 cm below the collar seam works for most adult full front designs. That gap keeps the artwork off the neckline and sitting on the chest where people expect it. Measure from the seam, not from the edge of the ribbing.
Usually small, about 5 to 10 cm wide and 2.5 to 5 cm tall, centred just under the back neck seam. It’s a quiet spot for a small mark or tagline. Keep it off the neck edge, since that fabric stretches when the shirt goes on.
Yes, and scale it to the child’s chest instead of just shrinking the file by a random percentage. A full front for kids often runs 18 to 24 cm wide. Keep big graphics away from the neck, because young skin is more easily bothered by stiff prints.
Sometimes. Vinyl suits bold, simple shapes, DTF handles multi-colour artwork, and sublimation is listed for polyester. Maximum sizes also depend on the machine and film width, so ask the print team for the exact limit before you finalise the file.